Subscribe to receive top agriculture news
Be informed daily with these free e-newsletters

October 25, 2011
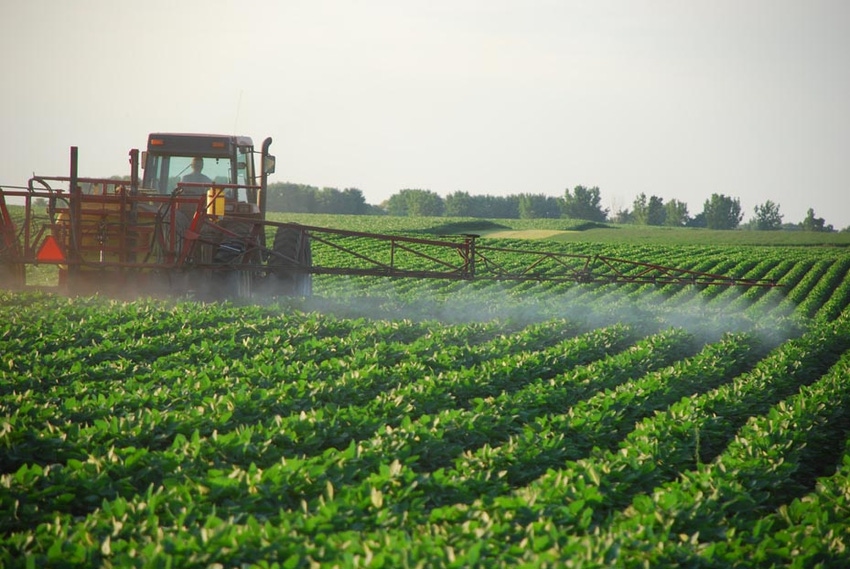
It is very likely that you will not be using your sprayer again until next spring. If you want to avoid potential problems and save yourself from frustration and major headaches, you will be wise to give your sprayer a little bit of TLC this fall. Yes this is still a busy time of the year for some of you, but don't delay winterizing your sprayer any more than necessary.
Find ways to protect them against the harmful effects of snow, rain, sun and strong winds. Moisture in the air, whether from snow, rain or soil, rusts metal parts of unprotected equipment of any kind. This is especially true for a sprayer, because there are all kinds of hoses, rubber gaskets and plastic pieces all around a sprayer, Yes, the sun usually helps reduce moisture in the air, but it also causes damage. Ultraviolet light softens and weakens rubber materials such as hoses and tires and degrades some tank materials. How about the pump– the heart of a sprayer? You don't want a pump that’s cracked and/or not working at its full capacity because you did not properly winterize it before the temperature falls below freezing.
The best protection from the environment is to store sprayers in a dry building. Storing sprayers in a building gives you a chance to work on them any time during the off-season regardless of weather. If storing in a building is not possible, provide some sort of cover.
Here are some suggestions you may want to follow as you prepare the sprayer for storage:
When storing trailer-type sprayers, put blocks under the frame or axle and reduce tire pressure during storage.
It is very likely that you did the right thing when you used the sprayer the last time: you rinsed the whole system (tanks, hoses, filters, nozzles) thoroughly. If you did not, make sure there is no leftover spray mixture in the tank. Dispose of it according to the chemical label, and rinse the system with some sort of a rinsing solution. Usually a mixture of 1:100 of household ammonia to water should be adequate for cleaning the tank, but you may first need to clean the tank with a mixture containing detergent if tank was not cleaned weeks ago, right after the last spraying job was done.
Cleaning the outside of the sprayer components deserves equal attention. Remove compacted deposits with a bristle brush. Then flush the exterior parts of the equipment with water. A high-pressure washer can be used, if available. Wash the exterior of the equipment either in the field away from ditches and water sources nearby, or a specially constructed concrete rinse pad
Drain all cleaning water from all parts to prevent freezing.
To prevent corrosion, remove nozzle tips and strainers, dry them and store them in a dry place. Putting them in a can of light oil such as diesel fuel or kerosene is another option.
Pumps require special care. After draining the water, add a small amount of oil and rotate the pump four or five revolutions by hand to completely coat interior surfaces. Make sure that this oil is not going to damage rubber rollers in a roller pump or rubber parts in a diaphragm pump. Check the operator's manual. If oil is not recommended, pouring one tablespoon of radiator rust inhibitor in the inlet and outlet part of the pump also keeps the pump from corroding. Another alternative is to put automotive antifreeze with rust inhibitor in the pump and other sprayer parts. This also protects against corrosion and prevents freezing in case all the water is not drained.
Cover openings so that insects, dirt, and other foreign material cannot get into the system.
Finally, check the sprayer for scratched spots. Touch up these areas with paint to eliminate corrosion.
You May Also Like
Enter a zip code to see the weather conditions for a different location.