October 14, 2013

Lack of rainfall in the 2013 growing season leaves no question that yields goals will not be meet—with few exceptions. Lower yield means soil sampling this fall will be extremely important. Determining what residual fertility remains in the soil show credits that carry over to next year’s crop.
Soil testing is the only way to accurately determine what residual fertility remains and is the foundation of a sound fertility management program. When not taken up by a crop, some nutrients, particularly nitrogen, can be lost by leaching or volatilization. Others, like phosphorus, react with soil minerals over time to form compounds that are not available for uptake by plants. Soil testing can be used to estimate how much loss has occurred and predict which nutrient(s) and how much of that nutrient(s) should be added to produce a particular crop and yield.
Collecting a good soil sample is the most critical step in soil testing. It is generally recommended that one “composite” soil sample be collected from each uniform area (field or part of a field) of 10 to 40 acres. Take care to prevent sampling across areas with historically different land uses, soil types, fertilization practices, or crop yields. Combine 10 to 15 individual soil cores taken randomly across each field. Place the cores in a clean plastic bucket, thoroughly mix and send about 1 pint to the laboratory for testing.
If you are enjoying reading this article, please check out Southwest Farm Press Daily and receive the latest news right to your inbox
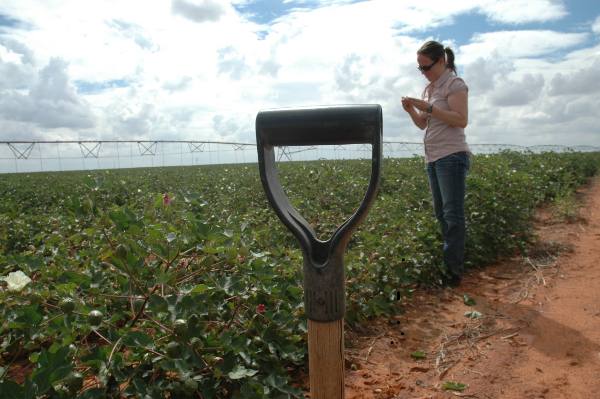
Individual soil cores can be taken using a regular spade, soil auger or soil sampling tube. First, scrape any plant residue from the surface and then make the core or boring 6 inches deep. Be careful not to remove dark colored, partially decomposed organic matter when removing plant residue. When using a spade, dig a 6-inch deep, 45-degree V-shaped hole and take a 1-inch slice from the smooth side of the hole. Then remove a 1-inch by 1-inch core from the center of the shovel slice. Collecting 10 to 15 individual cores across the area improves chances that the soil test results will be representative of the site and fertilizer recommendations will be appropriate.
Complete sampling instructions and sample bags are available from your local county Extension office. During the AgriLife Extension Soil Sampling Campaign, October 1 through November 15, crop and forage producers can have samples analyzed at a discounted rate and free shipping to the lab. See South Texas soil testing campaign to run through February.
Follow these three steps:
1) obtain sample bags and instructions,
2) collect composite samples,
3) select the proper test, and complete the information sheet and return to the Nueces County Extension Office at 710 East Main Avenue, Suite 1 Robstown, TX 78380. For more information contact our office at 361-767-5223.
Also of interest:
High fertility prices spur need for efficiency
You May Also Like


