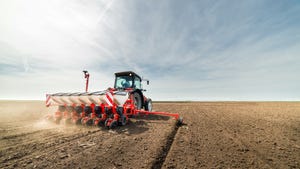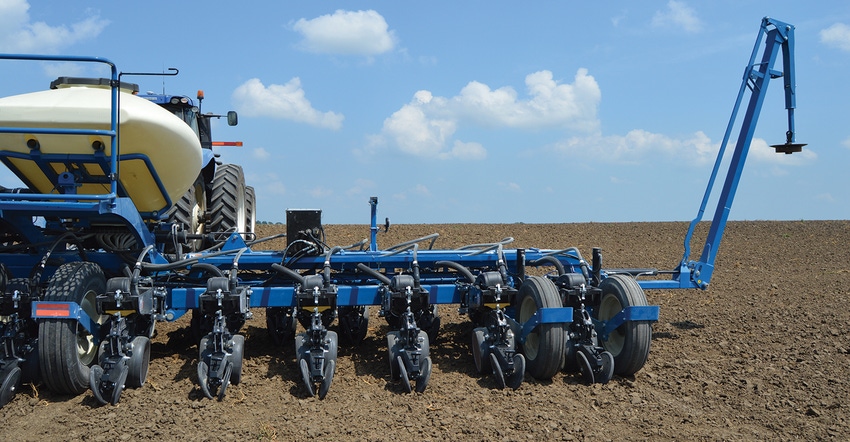
“The days of pulling the planter out of the shed, oiling up chains and going to the field are over,” says Jeremy Hughes, product manager for Horsch and a farmer himself.
Today’s planters involve so much technology that you can’t afford to wait until the last minute to get them ready. Phil Jennings, service manager for Kinze, puts it this way: “The best time to start preparing your planter was last month. That’s my way of saying you should do it now.”
Today’s planters are certainly not your grandpa’s or even your dad’s planters. This isn’t your typical planter tuneup article that drills down on checking wear points and disc blades. Thanks to Hughes and Jennings for providing these 12 tips:
1. Flush the liquid system, and check for leaks and cracks. Hopefully you winterized your liquid system if you apply liquid fertilizer, Hughes says. Thoroughly clean it out and rinse with water. Check for cracks in small hoses and tubes. Sometimes they get brittle over time.
2. Go over the entire planter thoroughly well ahead of planting season. You typically only have a 10- to 14-day window to plant a crop, Hughes says. “You don’t want to lose time when you could be planting because a sensor isn’t working or you discover a floppy gauge wheel,” he says. “Find those things now.”
3. Check normal wear areas. Both Hughes and Jennings agree it’s still important to check traditional places for wear, including disc openers and meters. Make repairs if necessary. “You can get complacent and forget how important it is to check for wear,” Jennings says. “You also want to make sure reflectors are in place, warning lights are working, and you have bright SMV [slow-moving vehicles] signs for road transport.”
4. Spend as much time on tech parts as physical parts. “Take time to maintain the technology components,” Jennings says. “If you haven’t already, upgrade to the latest software versions for your planter systems. We’re not just talking software for the display in the cab. There may be software upgrades for modules within the planter itself.”
5. Complete inspection and maintenance on seed meters. “Have your seed meters inspected and fully checked regardless of the meter type or drive used,” Jennings says. “There are wear items in all metering units that should be inspected annually. Kinze recommends working with your dealer to verify meter performance on a test stand.”
6. Determine vacuum settings with seed. “We suggest taking a coffee can of seed of each hybrid you’re going to plant and running it through meters on a test stand,” Jennings says. “You can know before you go to the field any settings required to achieve the best accuracy for each hybrid.”
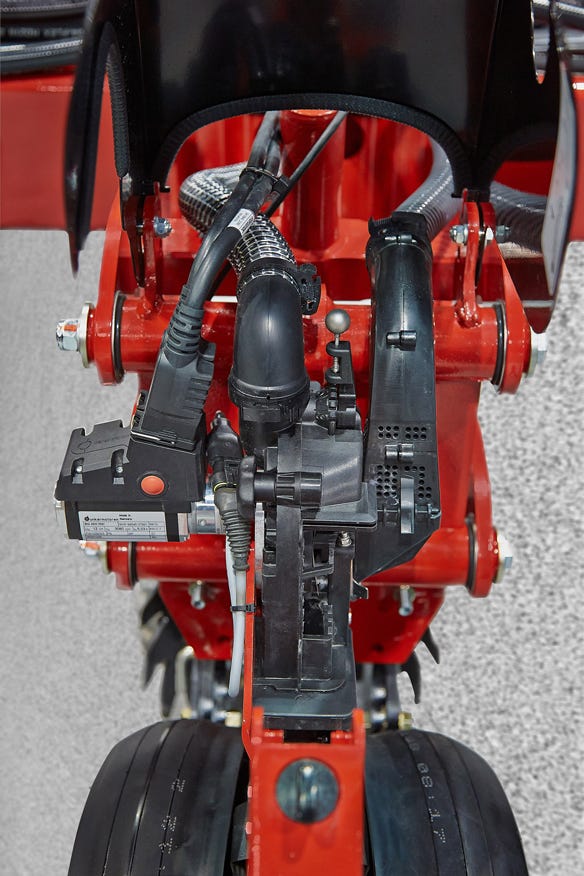
CABLES, HOSES, WIRES: Modern planters have tons of wires, hoses and electrical connections. Check these well ahead of planting, Horsch’s Jeremy Hughes advises.

7. Do test runs in the shop if your planter allows it. Hughes agrees that running seed through meters in advance is a must. On Horsch planters, he notes, you can set the planter to do a test run and provide counts for each row. Or you can collect seed behind each row on a short run and count yourself.
8. Test the vacuum and seed-on-demand systems for leaks. Fire up the planter and inspect seals and hose connections to make sure air isn’t leaking, Hughes says. He typically adds soapy water to an empty spray bottle and sprays the edges of seals and hoses. If there’s a leak, air bubbles up.
9. Check wiring and hose harnesses, and replace zip ties. Keeping a bag of zip ties in the toolbox when you’re completing maintenance can prevent lots of problems later, Jennings says. Over time these handy ties get brittle. Replace them so wires and hoses don’t wind up dangling or getting caught or pinched during the season.
10. Take advantage of planter maintenance checklists. Kinze offers a complete step-by-step checklist that allows you to go through both physical and technological components, Jennings says. Most companies offer such lists. Take advantage of them, and check off every item.
11. Check the seed sensor eye in each seed tube. “Seed sensor eyes can get dirty or scratched,” Hughes says. “Reports you got for that row are based on those eyes. Make sure they’re in good shape.”
12. Take the planter for a test drive. You might shake up your neighbors, but a dry run in the barn lot or field is an excellent idea, Hughes says. “That’s how you know if everything is ready to go,” he notes. “Some people just want to make sure depth settings are correct. Seed depth is critical.”
About the Author(s)
You May Also Like

