Subscribe to receive top agriculture news
Be informed daily with these free e-newsletters

Removing all material helps keep out mice and prevents leftover weed seed from moving into fields next harvest season.
November 19, 2018
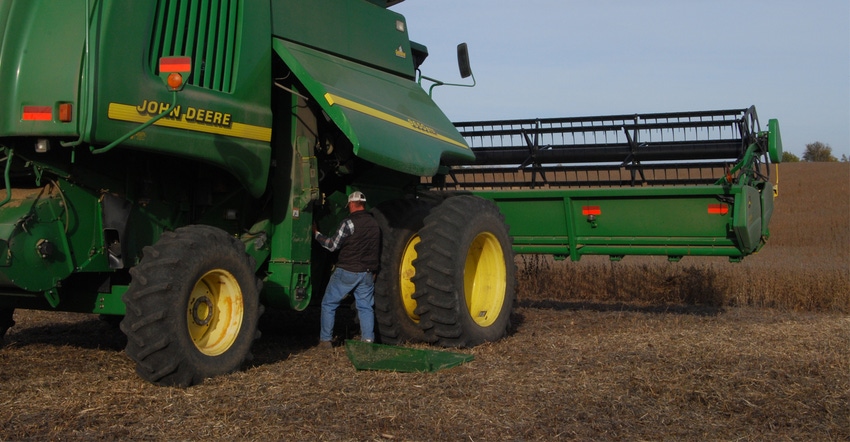
Before the combine gets stashed away for winter, an end-of-season clean-out is a way to check the combine over for necessary maintenance and remove material that could act as food or bedding for pests, like mice or raccoons. These animals can cause damage by chewing wires or nesting in the engine.
Cleaning out a combine also removes weed seeds and helps keep them from spreading to fields next harvest season. There are many places for weed seeds to hide inside a combine. Nooks and crannies on the outside of a combine also harbor weed seed.
A front-to-back and top-to-bottom combine clean-out is worth the time and effort. It’s necessary for some farmers to do it between fields when producing identity-preserved grains or other specialty crops. However, all farmers should complete a full clean-out after harvest. And it’s not just combines; grain carts and augers should be cleaned out, too.
Refer to this publication
A publication explaining steps to follow for an end-of-season combine clean-out can help you check the machine before winter. View the publication at the North Central Agriculture and Natural Resource Academy.
For a complete cleaning of a combine, go over all the parts, including the head, feeder house, rock trap, rotor–cylinder–concave, cleaning shoe, tailings and elevators, grain tank, unloading auger, chopper, rear axle, and chassis. Take time to clean the outside of the combine, too.
Always wear personal protective equipment when cleaning machinery: protective eyewear, dust mask, hearing protection and gloves. Supplies and tools needed are a shop vacuum, high-pressure air compressor, flat-head screw drivers and pocket knife.
Steps to successful cleaning
To start the cleaning procedure, run the unloading auger empty for at least one minute. You can remove the header from the combine. Open the clean grain and tailings elevator doors, rock trap and unloading auger sump. Make sure bystanders are at least 50 feet away from the machine.
Start the combine and separator, adjust the cleaning shoe fan to full speed for maximum airflow, and alternately open and close the cleaning shoe sieves electronically. Adjust the rotor to full speed for maximum air suction and alternately open and close the concaves. Operate the combine this way for at least two minutes and drive over the end rows of a harvested field or rough terrain to dislodge more material.
Next, thoroughly vacuum inside the grain tank from top to bottom, including all ledges, steps, lights, sensors, wiring and around the window to the cab. Clean the unloading auger by packing 1.5 cubic feet of pinewood chips into the sump, and follow the procedure outlined in our publication.
Remove the combine head, if you haven’t already. Lower the combine’s feederhouse to the ground and use compressed air to blow out the interior. Remove material from all joints, crevices and feederhouse chains. Shake chains to loosen material. Each area may require repeated blowing and vacuuming.
Clean machine, inside and out
Raise the feederhouse and lock it in place. Open the rock trap door and loosen the biomaterial. If present, pull down the rubber seal between the feederhouse and the rotor to dislodge additional plant material. Use compressed air and the vacuum.
Remove access panels and rotor–cylinder concaves and clean the rotor–cylinder and threshing area. Use compressed air first, and then vacuum. Pry out lodged plant material from the front rotor–cylinder section and remove it with the vacuum. Clean the concaves and the remaining rotor–cylinder cage. Use compressed air directed to the back side of the rasp bar sections to remove residue. If concaves were removed, reattach and vacuum remaining residue from the rotor–cylinder area.
Remove residue from the clean grain augers or shaker pan below the rotor–cylinder. Clean the chopper by removing plant material from the rotor. Open the sieves to maximum width and remove the covers of the bottom cross augers (if present). Force compressed air through the sieves. Inspect lower cross augers to vacuum any remaining debris before replacing the cross-auger covers.
Clean the elevators by opening the lower doors and shaking the conveyor chains to dislodge any material. Open and empty the moisture sensor and reassemble.
Header attachment clean-out
End-of-season clean-out of the combine header is crucial to prevent the spread of potential herbicide-resistant weed seeds and soil pathogens.
Likewise, cleaning the exterior areas of the combine is important. Use compressed air to remove residue from the spreader assembly and rear axle. Remove residue from the combine chassis: ledges behind access panels, above the fuel tank, all standing platforms, cab roof and around the outside of the feederhouse, including guards and shields.
A full combine clean-out is likely not necessary between most crop fields, but it is an important end-of-season practice.
Anderson is an ISU Extension field agronomist covering central Iowa. Contact her at [email protected].
You May Also Like
Current Conditions for
69°F
Partly Sunny
Day 70º
Night 49º
Enter a zip code to see the weather conditions for a different location.