Subscribe to receive top agriculture news
Be informed daily with these free e-newsletters

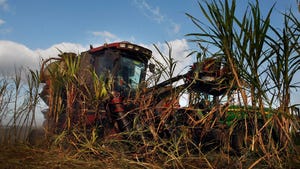
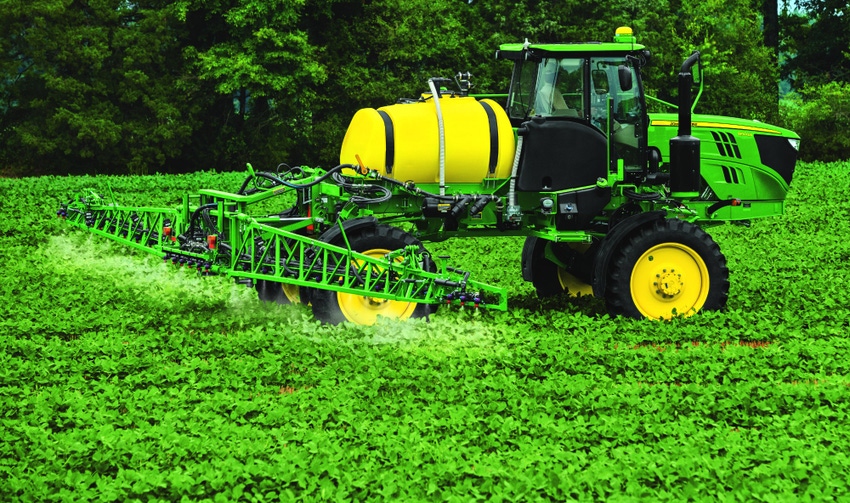
Getting the steps right in sprayer clean-out is important as new herbicides come to market.
August 24, 2016
During a field-day recently, one of the interesting additions was a series of games the organizers set up to encourage people to take part, and pay attention to presentations. It made the event - a BASF field day near Beaver Crossing, Neb., - more interesting. One stop that apparently stumps many involved the proper steps, and order of steps, for cleaning out a sprayer.
As over-the-top use of dicamba nears, maintaining procedures for a clean sprayer get more important. We got a look at the steps – in proper order – and we can offer you this cheat sheet for a triple-rinse approach that'll be recommended for the latest herbicide tools coming to market. The steps are simple, but have to occur in the right order.
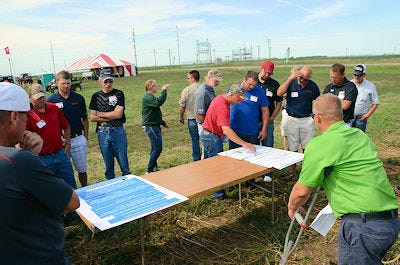
During the field day attendees were challenged to put the steps for cleaning a sprayer in the right order.
At the field day - and it was day three of three days of meetings - no group was able to get the steps in order; a refresher is in order. Here are the steps.
1 - Drain the sprayer and boom.
Starting out empty to get cleaning is important. Make sure the sprayer is drained and booms are clear.
2 - Flush the tank, hoses, boom and nozzles with clean water.
If the boom ends can be opened, do that and flush the boom as well. This will be your first rinse.
3 - Inspect and clean all strainers, screens and filters.
Make sure to clear debris, and residues in these areas that seem to catch everything.
4 - Use a detergent-based sprayer cleaner (this is recommended for use of dicamba in your sprayer to make sure it's cleared properly), and follow the cleaner manufacturer instructions.
Be sure to wash all parts of the tank, start agitation in the sprayer and recirculate the spraying solution for at least 15 minutes. This is a soap step.
5 - Flush hoses, spray lines and nozzles with the cleaning solution for at least 1 minute.
Remove nozzles, screens and strainers and clean separately in the cleaning solution after completing the flush procedure - which is the second rinse. Dispose of that rinsate in compliance with local, state and federal guidelines.
6 - Drain pump, filter and lines - to clear them of that second rinsing.
7 - Rinse the complete system with clean water and dispose of that rinsate in compliance with local, state and federal guidelines. This is the third rinse.
Setting down proper procedures for you or employees to keep sprayers cleaned out will help prevent issues with contamination, potential crop damage and it'll keep your sprayer running longer. Sounds basic, but it's valuable information as more new-tech crop protection tools come on line with specific requirements to avoid field issues.
You May Also Like
Enter a zip code to see the weather conditions for a different location.