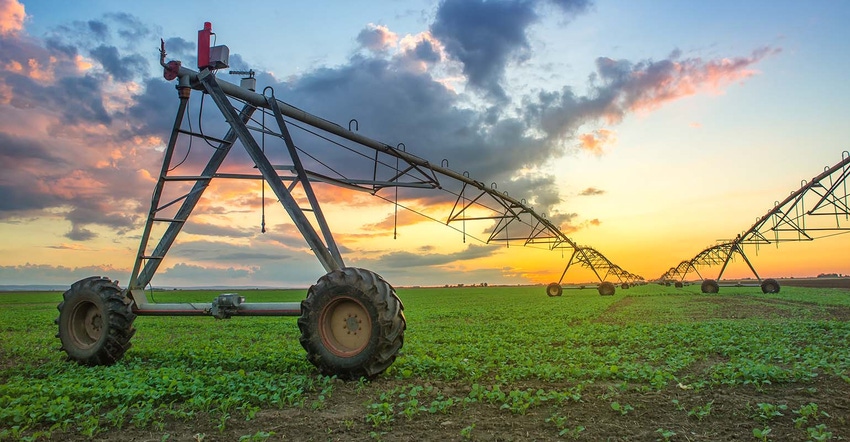
Now is a great time to make a list of irrigation repairs and improvements, according to MSU/Purdue Extension irrigation educator Lyndon Kelley.
“A good end-of-season list of needed irrigation maintenance and repairs can help irrigators prevent in-season system breakdowns and delays in watering during next summer,” he says.
But what does such a list look like? Kelley offers a baker’s dozen bundle of advice.
To start, create a plan for making any needed repairs ahead of winter. “Often there are special fall pricing and incentives for parts, service and repair work that is booked during the fall and winter months,” Kelley says. “Using a smart phone to take photos and jot down notes can help create a detailed repair list and makes it easy to send to others.”
Put the center pivot in motion and listen for worn bearings or damaged gear boxes.
Check wheels for loose lug bolts and tires for cracks and wear.
Listen to the drive system for squeals and knocks, which are indications of bearing or equipment wear.
Inspect the distribution system for leaks, bad seals and worn-out sprinklers by turning on the water and walking the length of the system.
Inspect pressure gauges to ensure they are properly working. Ideally, you should keep a log of operating pressures throughout the season, Kelley says. “Expect that normal seasonal fluctuation will create a lower pressure reading in late summer/early fall than a spring reading when water levels are at seasonal highs,” he says.
Measure water flow. “A good indication the water supply flow is not what the system was designed for is when the pressure at the pivot point is greater than 10% different than your sprinkler package specification when all of the sprinklers and the endgun on,” Kelley notes.
Compare the application chart to actual applications, which can reveal potential uniformity and timing problems, Kelley says.
Check all major irrigation control and interlock systems.
Check stop barricades – tire skid marks may indicate the primary stop switch failed and should be replaced.
Calibrate yield sensors before harvesting irrigated fields. After harvest, inspect low or high yielding areas of the field against irrigation data. “A beginning step is to compare an aerial photo where you can identify the irrigation system with the yield map and see what jumps out at you,” Kelley says.
Compare irrigated and non-irrigated fields as a first step in deciding if additional irrigation investments might make sense.
Review total repair costs before making any new equipment purchases. “In most situations, the cost of needed repairs and improvements are small compared to the price of a new system,” Kelley says. “For systems covering large acreage or on crops of great importance, it may be better to replace them before a mid-summer catastrophe.”
About the Author(s)
You May Also Like


