February 1, 2024
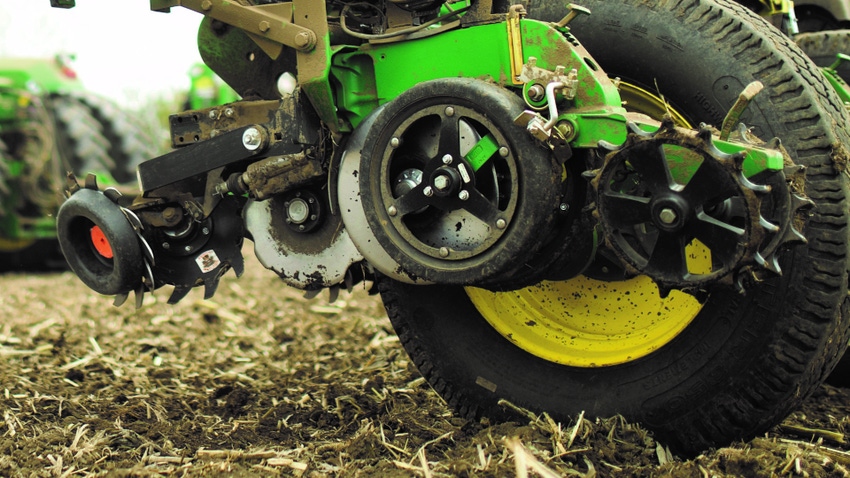
It’s hard to believe that planting season is right around the corner! Getting your planter ready to hit the fields well before you need to use it is a sure way to maximize your bushels per acre this planting season. From closing wheels to tire pressure, here is what farmers need to be mindful of to make the most of this upcoming planting season:
1.Tire Pressure: Check and maintain proper air pressure in the tires based on the planter's weight and field conditions. Inspect wheels, lug nuts, bearings, and ensure drive wheels are centered. Don’t forget to check mud scrapers on drive wheels.
2.Parallel Linkages: Examine parallel arms for any play and adjust or replace linkages and bushings as necessary.
3.Drive System: Thoroughly inspect all drive system components, including flex drives, hydraulic drives, and lines. Check electrical drive systems, connectors, and wires. Additionally, examine chains, idlers, sprockets, and bushings. Lubricate chains and sprockets if needed.
4.Frame- Check structural welds, hydraulic hoses and cylinders, check wing hinges and pivots, check row markers.
5.Row Cleaners – Check for wear and replace any bearings if needed. Floating type row cleaners should travel up and down freely.
6.Fertilizer Delivery System: Examine openers, fertilizer tubes, connections, and ensure the system is free of rust or damage.
7.Disc Openers: Adjust shims for correct blade contact, ensure sharpness, and check for diameter tolerance as per manufacturer guidelines.
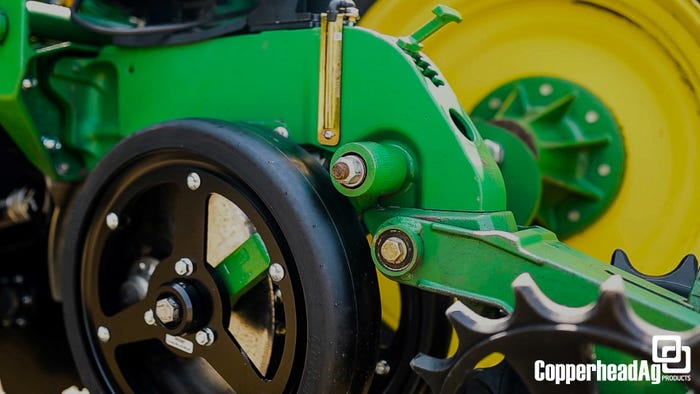
Photo submitted by Copperhead Ag
8.Gauge Wheel Assembly – Inspect for cracks or wear, adjust the gauge wheels so that they run tight against the disc openers. They should be turned with slight pressure applied but not spin freely. Ensure gauge wheels move freely up and down. Check gauge wheel arm condition, walking gauge wheel attachments, and bearings.
9.Seed Meters – inspect for damage or wear including vacuum seals, brushes, scrapers, and double eliminator. Confirm that the correct crop kit (for newer meters) is installed. Run a test strand to check performance.
10.Seed Drop – Examine seed tubes for wear or damage, clean debris, and secure seed sensor properly.
11.Seed Firmers- Check for correct installation, adjust tension, check for damage or wear.
12.Vacuum – Inspect the vacuum system including hydraulic motor, fan and hoses for any damage, wear, leaks or loose fittings. Ensure proper attachment of vacuum hoses on each row unit.
13.Electrical- Check routing, cable connections, review control console functions, check seed tube sensors.
14.Technology – Confirm the latest software upgrades for GPS receiver and planter display are installed. Conduct a thorough inspection of all technology components, including sensors and connections.
15.Closing Wheels – Verify closing wheels are directly centered over the row. Ensure that closing wheels are spaced appropriately to the manufacturer’s recommendation. Inspect closing wheels for wear or damage.
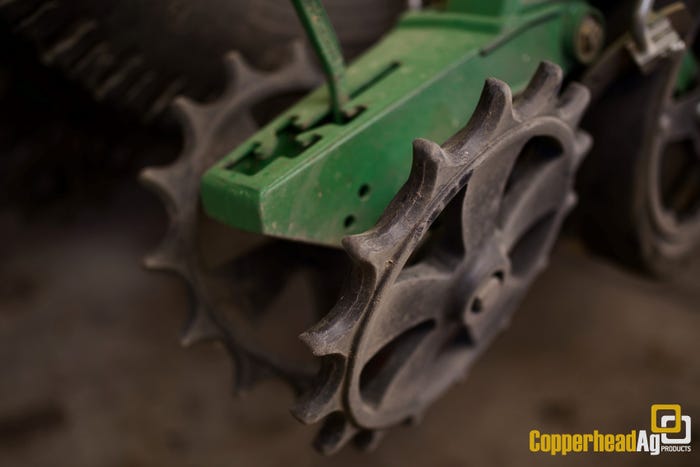
Photo submitted by Copperhead Ag
16.Downforce – For mechanical (spring type) systems, check components thoroughly to ensure downforce adjustments can easily be made. For pneumatic or hydraulic systems, inspect air or hydraulic connections and perform a static diagnostic test to verify proper downforce functionality.
You May Also Like


