Subscribe to receive top agriculture news
Be informed daily with these free e-newsletters
Editor’s note: This is the second in a series of stories about tissue testing and micronutrients. Part 1 discussed micronutrient demands during the growing season.
“Tissue sampling is not that difficult,” says Mat Muirheid, who farms near Decatur. With five years’ experience under his belt, Muirheid is a veritable tissue sampling pro.
Planning is key to tissue tests, says Jason Haegele, an agronomist with WinField United. Farmers need to consider the crop, growth stages, quantities and tissue types.
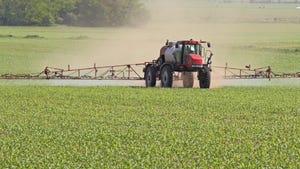
“Tissue sampling can be a tool for understanding in-season uptake and deficiencies,” explains Haegele. When farmers understand micronutrient deficiencies, they can apply in-season fertilizer to address nutrient needs before yield potential declines.
Here are four steps for accurate tissue sampling.
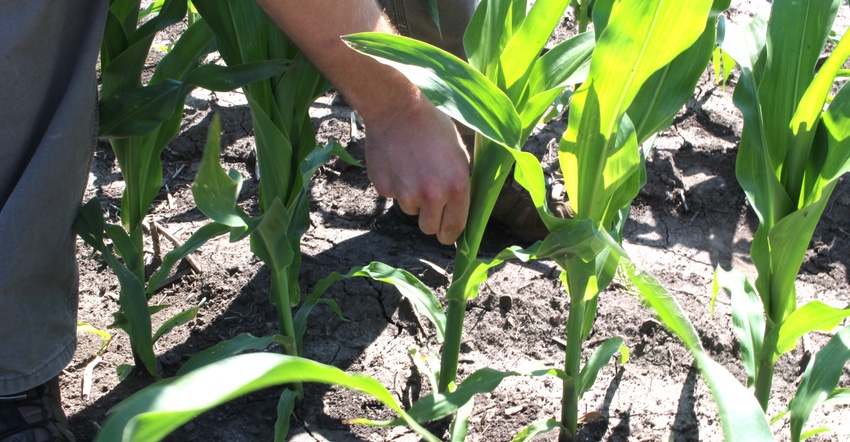
1. Pull the right leaves at the right crop stages. Crops have different ideal sampling times based on when they use micronutrients and when micronutrients are present in the leaf tissue.
For soybeans, pull leaves from the highest fully open trifoliate leaf at V3 to V5, when plants have at least three to five open trifoliates, and again between R1 and R4, or beginning bloom to full pod. (See How to stage a soybean.)
For corn, pull the uppermost collared leaf between V4 and V12, roughly four to eight weeks after emergence, and the ear leaf between R1 and R4, or when corn is between silking and dough stage.
2. Be picky, but not too picky. Randomly choose healthy leaves without disease or pest damage from various spots in the field.
3. Make the sample size just right. Pull samples from at least 30 to 35 plants, which provides the lab enough tissue for drydown and analysis. A softball-size handful of leaves does the trick, Muirheid notes.
4. Use proper precautions. Soil and dust residue can impact nutrients detected on the leaf tissue. If the leaves are dusty or dirty, wash and dry them before sending them to the lab.
Lab results typically take a few days, Muirheid notes. Haegele recommends selecting a lab nearby to reduce turnaround time and sticking with one lab for an entire growing season for consistent results.
What happens next? Read: “Tissue test results are in — now what?”
You May Also Like
Enter a zip code to see the weather conditions for a different location.