Subscribe to receive top agriculture news
Be informed daily with these free e-newsletters
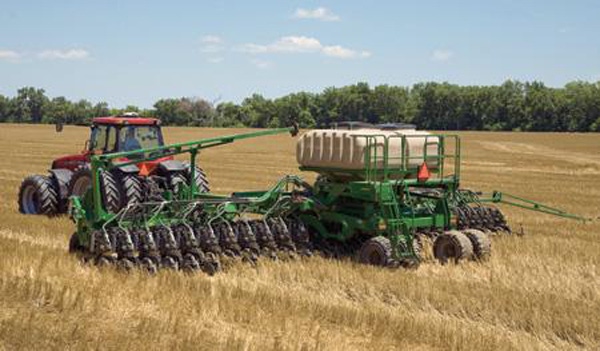
Source: Penn State Extension
Planting is right around the corner. Are you ready? Before you head out in the fields, it’s crucial to make sure your planter is ready to perform at its best. Penn State offers up a list of 13 items to check on your planter before the big rush to plant at the right time.
Also, we invite you to share your 2014 planting stories with us on social media. Just make sure to use the #plant14 hashtag. And give us a mention on Facebook or Twitter so we can see your progress as planting starts. We’d love to share your stories with other growers.
Planter prep checklist:
Meters: These should be taken apart every winter and cleaned with soapy water. Any cracked covers should be replaced, and seed brushes should also be replaced if worn. And it’s also recommended to calibrate your metering unit every 300-400 acres.
Planter unit: Look across your planter units from the side to make sure they are all at the same height, and if one is off, it needs work. Bolts should be tightened or additional brushings may be needed.
Seed opener disks. Seed opener disks need to have a minimum diameter (check operator manual) or they will not place the seed at the appropriate depth. Seed opener disks also need to come together in the front (they should usually touch for 3”, but this may vary depending on planter). Stick two business cards between the openers and move them as close together as possible. If opener disks are worn too much you will get a “W” shaped seed slot instead of the desired “V” slot.
Seed tubes: The end of seed tubes may wear and curl inwards, catching seeds. There is often a hook halfway up that can easily break off. Seed tube guards need to have their minimum width and be fastened correctly or the seed tube may get damaged.
Seed firmers: These help to press the seed down in the furrow, guaranteeing more accurate depth. The tension can be adjusted with a bolt. If the seed firmers are worn they need to be replaced.
Depth wheels: These need to run tight against disks. Change washers from inside to outside (or vice versa) of depth wheel if necessary.
Coulters: Check coulter diameter, and replace them if needed. You should adjust the depth of worn coulters that are still usable.
Row cleaners: Check for wear, and make sure to adjust to compensate for wear.
Closing wheels: These need to have an intact spring and should be checked for damage or wear. Bearings cannot be wobbly or too tight.
Alignment of coulters, opener disks, and closing wheels: Take a rope and pull it straight from the front coulter to the closing wheels. The firming wheels, seed openers, and coulters should all be in line. Closing wheels should not run on top of the seed furrow.
Insecticide boxes: These should not have any holes or cracks. Tubes should be washed out and dried as well as the slot on bottom of meter.
Fertilizer unit: The fertilizer opener disks should have a minimum diameter (check manual). The bearings should not be wobbly or too tight. Hang a bucket below the tube of the unit, and do a test run of 175 feet in the field. Weigh the fertilizer in the bucket, multiply by 100, and you have the fertilizer you’ll put on in pounds per acre (at 30” row spacing). Adjust as needed.
Chains and sprockets: Check them all, and if they are worn they need to be replaced. They should be greased regularly.
Read the full article from Penn State.
You May Also Like
Enter a zip code to see the weather conditions for a different location.